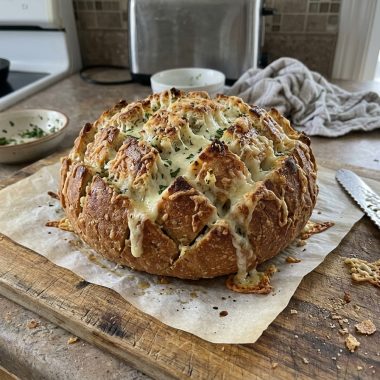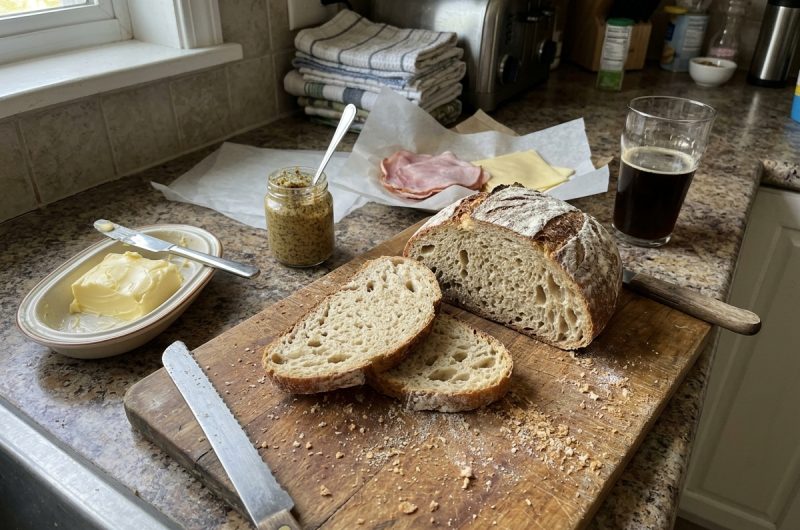
Sourdough Beer Bread is a rustic homemade loaf that combines the tangy flavor of sourdough with the malty taste of beer, a touch of honey, and hearty grains. It develops a crisp, mahogany-brown crust and a soft, chewy interior, making it an excellent choice for anyone who enjoys artisan bread. Serve it with soup, stew, cheese, or simply toasted with butter for a satisfying homemade treat.
This recipe uses a ripe sourdough starter, bread flour, and amber or dark ale to create a loaf with a rich, balanced flavor. Malted wheat flakes add a hearty texture, while rolled oats provide a convenient alternative. Honey brings gentle sweetness without turning the bread into a dessert. Although the recipe takes approximately eight hours from start to finish, most of that time is spent resting and proofing the dough rather than actively working with it.
Why You’ll Love This Homemade Beer Bread
One of the best features of sourdough beer bread is its depth of flavor. Sourdough contributes a pleasant tang, while beer adds malty notes that complement the flour and grains. These flavors combine with the subtle sweetness of honey to produce a loaf that tastes more complex than ordinary homemade bread.
The texture is equally appealing. Bread flour helps create a chewy crumb, and the prepared grain soaker adds a hearty quality to each slice. Stretching and folding the dough during fermentation strengthens its structure, while baking at a high temperature encourages the crust to become crisp and deeply browned. The finished loaf is delicious fresh, toasted, or served alongside savory meals.
Ingredients for Sourdough Beer Bread
Sourdough Starter and Beer
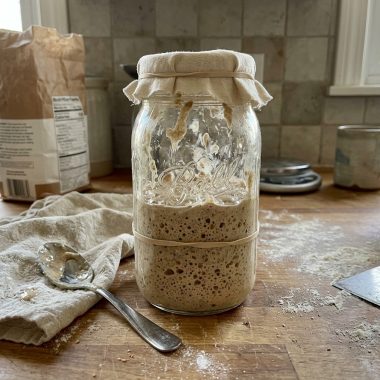
A ripe sourdough starter helps the dough ferment and develop its characteristic flavor. For reliable results, use a starter that rises actively after feeding. If yours has been refrigerated, give it room-temperature feedings until it becomes lively again. A strong starter helps the dough rise and contributes to the bread’s flavor.
Beer provides moisture and a distinctive malty taste. Amber ale and dark ale are recommended because they pair well with wheat and honey. Different beers can produce slightly different flavors, so choose one with a taste you enjoy. Measure the beer carefully to maintain the intended dough consistency.
Bread Flour, Honey, and Salt
Artisan bread flour provides the gluten structure needed for a loaf that rises well and holds its shape. Unbleached all-purpose flour is also an option in this recipe. Weighing the flour is the most reliable way to achieve consistent results, since too much flour can make the dough stiff and difficult to shape.
Honey balances the sourdough’s tanginess and the beer’s malty character. Salt enhances the overall flavor and helps regulate fermentation. Both ingredients are mixed into the dough after the initial resting period. Instant yeast is optional and can provide additional leavening support if you want the dough to rise more quickly.
Malted Wheat Flakes or Rolled Oats
Malted wheat flakes give the bread a hearty grain flavor and rustic appearance. Rolled oats can be used instead if needed. Both options are prepared by soaking them in boiling water before mixing them into the dough. This softens the grains and helps them retain moisture during baking.
Allow the soaker to cool completely before adding it to the dough. Adding it while hot could interfere with the activity of the sourdough starter. Preparing it first makes the remaining steps easier and helps the grains distribute evenly throughout the loaf.
How to Make Sourdough Beer Bread
Step 1: Prepare the Soaker
Place the malted wheat flakes or rolled oats in a heatproof bowl. Pour the boiling water over the grains and stir until evenly moistened. Set the mixture aside to cool while preparing the other ingredients. This step softens the grains and helps prevent them from drawing too much moisture from the dough during baking.
Step 2: Mix the Dough
Combine the ripe sourdough starter, beer, flour, and optional instant yeast in a large mixing bowl. Mix by hand or with a stand mixer on low speed until the flour is fully moistened and a cohesive, slightly sticky dough forms. Cover the bowl and allow the dough to rest for 30 minutes.
Step 3: Add the Remaining Ingredients
Add the cooled soaker, honey, and salt to the rested dough. Mix until everything is evenly distributed, then knead until the dough becomes smooth and supple. It should remain slightly tacky rather than dry or stiff. Avoid adding excessive flour, because a softer dough helps produce a tender interior.
Step 4: Begin the First Rise
Cover the dough and let it rise for one hour. Keep the bowl in a reasonably warm place away from strong drafts. Fermentation depends on the activity of your starter, the temperature of your kitchen, and whether you have included the optional yeast. Look for signs of expansion and a lighter texture as the dough develops.
Step 5: Stretch and Fold
Transfer the dough to a lightly floured surface. Gently stretch sections of the dough and fold them over the center several times. Return it to the bowl, cover, and let it rise for another hour. Repeat the stretching-and-folding process once more, then allow the dough to rise for a final hour.
These folds help strengthen the gluten structure without requiring extensive kneading. Handle the dough gently to avoid tearing it or pressing out too much of the air that has developed. If the dough is rising slowly in a cool kitchen, allow additional time when needed.
Step 6: Pre-Shape the Dough
Turn the dough onto a lightly floured surface and shape it into a loose round. Cover it with lightly greased plastic wrap and let it rest for 20 minutes. This resting period allows the gluten to relax, making the dough easier to shape into a tighter round without excessive resistance.
Step 7: Shape and Proof
Shape the dough into a tight round, gently drawing the outer surface underneath to create tension. Place it seam-side up in a well-floured proofing basket or a towel-lined bowl generously dusted with flour. Cover and proof for approximately two and a half to three hours in a warm place, or up to four hours in a cooler kitchen.
The dough should become puffy and feel lighter than it did after shaping. Rising times can vary, so pay attention to the dough’s appearance rather than relying only on the clock. Proper proofing helps the loaf expand during baking and develop a better crumb.
Step 8: Preheat the Oven
About one hour before baking, preheat the oven to 450°F. Place a baking stone inside if you have one. For the steam method, position an empty cast-iron frying pan on a lower oven rack while the oven heats. Alternatively, use a suitable baking shell designed for bread baking.
A thoroughly heated oven helps the loaf rise during the first stage of baking and supports the formation of a crisp crust. Prepare your parchment paper and baking equipment before transferring the dough so the loaf can go into the oven without unnecessary delay.
Step 9: Score and Bake
Carefully turn the proofed dough onto parchment paper. Use a sharp knife or bread lame to make several cuts across the surface. Transfer the loaf to the hot baking stone or place it on a parchment-lined or lightly greased baking sheet.
If using the cast-iron steam method, carefully pour one cup of boiling water into the hot pan and close the oven door. Keep your hands and face away from the escaping steam, and wear suitable oven mitts. Bake at 450°F for 15 minutes, then reduce the temperature to 400°F and continue baking for another 25–30 minutes.
The loaf is ready when it develops a deep mahogany-brown crust and is baked through. If using a baking shell, remove it after the first 15 minutes and finish baking uncovered.
Step 10: Cool Before Slicing
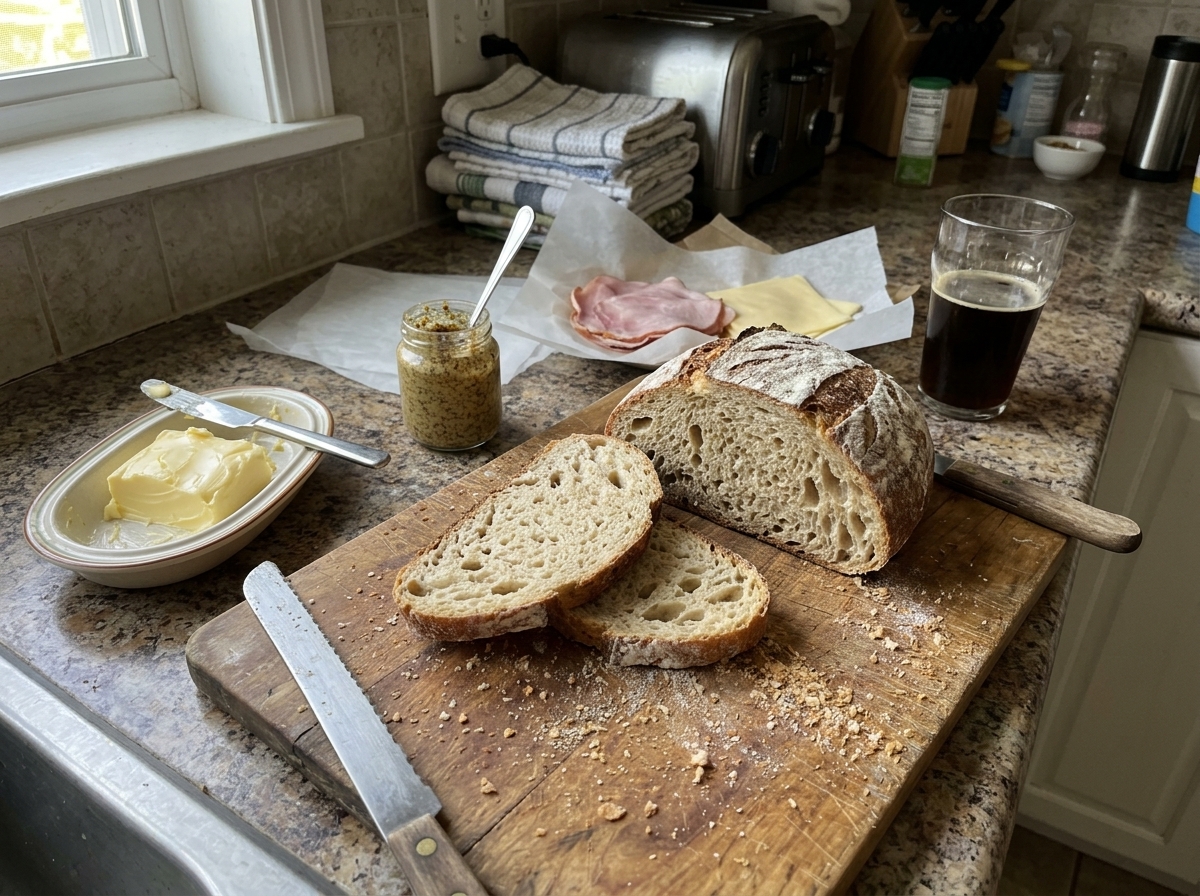
Transfer the baked bread to a wire rack and allow it to cool completely before slicing. Cutting into a hot loaf can leave the interior gummy because the crumb needs time to set after baking. Once cooled, use a serrated bread knife to cut neat slices without compressing the soft interior.
Tips for the Best Results
Use an Active Starter
A healthy starter should rise noticeably after feeding, often doubling or tripling in volume within six to eight hours under suitable conditions. If it has been refrigerated, it may need several feedings before it is ready to use. The optional instant yeast can provide additional leavening support, but the starter remains important for the bread’s flavor.
Avoid Adding Too Much Flour
The dough should feel soft, elastic, and slightly sticky. Use a lightly floured surface and a dough scraper to make handling easier. Adding too much flour can make the loaf dense and reduce the tenderness of the crumb.
Adjust the Rising Time
Temperature and starter activity affect fermentation. A warm kitchen may shorten the rising time, while a cooler room may require longer. The dough should look puffy before baking. If it remains dense, give it more time; if it becomes excessively slack and loses its structure, it may have proofed too long.
Serving and Storage Suggestions
Sourdough beer bread pairs beautifully with vegetable soup, lentil soup, beef stew, roasted vegetables, and cheese. Its chewy texture makes it suitable for soaking up flavorful broths, while its malty taste complements savory meals. For a quick snack, toast a slice and spread it with butter or serve it with your favorite savory topping.
Allow leftover bread to cool completely before storing it in a paper bag or loosely covered in plastic at room temperature for a few days. Paper helps maintain a firmer crust, while plastic retains more moisture. For longer storage, wrap the cooled loaf well and freeze it. Slicing the bread before freezing allows you to remove individual portions whenever needed.
Frequently Asked Questions
Can I Make Sourdough Beer Bread Without Yeast?
Yes. The instant yeast is optional, and the recipe can be made with sourdough starter alone. Use an active starter and allow enough time for fermentation. The dough may rise more slowly without commercial yeast, so monitor its appearance and texture.
Can I Use Rolled Oats Instead of Wheat Flakes?
Yes. Rolled oats are an approved alternative in this recipe. Use the specified quantity and soak them in boiling water before adding them to the dough. This softens the oats and helps maintain the dough’s moisture balance.
How Do I Know When the Bread Is Done?
The crust should be deep brown and firm after the recommended baking time. An instant-read thermometer can provide an additional check; many artisan loaves finish at an internal temperature of approximately 200–210°F. Cool the bread completely before slicing for the best texture.
Sourdough Blue Moon Beer Bread
Sourdough Beer Bread is a rustic artisan loaf made with ripe sourdough starter, amber or dark ale, honey, and malted wheat flakes or rolled oats.
1
servings25
minutes40
minutes1
hour5
minutesIngredients
- For the Soaker
1 cup (120 g) malted wheat flakes or 1 1/4 cups (112 g) old-fashioned rolled oats
1/2 cup (113 g) boiling water
Alternative oat option: 1 1/4 cups (141 g) King Arthur Rolled Oats
- For the Dough
1 cup (227 g) ripe sourdough starter
1 cup plus 2 tablespoons (255 g) beer, preferably amber or dark ale
3 1/2 cups (420 g) King Arthur Artisan Bread Flour or King Arthur Unbleached All-Purpose Flour
1 teaspoon instant yeast, optional
1 tablespoon (21 g) honey
2 teaspoons (12 g) table salt
Directions
- Prepare the soaker:
Place the malted wheat flakes or oats in a heatproof bowl. Pour over the boiling water, stir well, and leave to cool. - Combine the initial ingredients:
In a large bowl, mix the ripe sourdough starter, beer, flour, and optional instant yeast until all the flour is moistened and a cohesive, slightly sticky dough forms. - Rest the dough:
Cover the bowl and leave the dough to rest for 30 minutes. - Add the remaining ingredients:
Mix in the cooled soaker, honey, and salt until evenly distributed. Knead until the dough becomes smooth and supple but remains slightly tacky, approximately 2–3 minutes in a stand mixer after incorporating the ingredients. - Begin the first rise:
Cover the dough and let it rise for 1 hour. - Stretch and fold:
Turn the dough onto a lightly floured surface. Stretch and fold it over itself several times, then return it to the covered bowl for another 1-hour rise. - Repeat the folding:
Stretch and fold the dough once more, return it to the bowl, and let it rise for a final hour. - Pre-shape the dough:
Transfer the dough to a lightly floured surface and shape it into a loose round. Cover with lightly greased plastic wrap and rest for 20 minutes. - Shape and proof:
Shape the dough into a tight round. Place it seam-side up in a well-floured proofing basket or a generously floured, towel-lined bowl. Cover and proof for 2 1/2–3 hours in a warm place, or up to 4 hours in a cool kitchen, until puffy. - Preheat the oven:
About 1 hour before baking, heat the oven to 450°F with a baking stone inside, if available. Place an empty cast-iron frying pan on a lower rack if using the steam method. - Score the loaf:
Carefully turn the proofed dough onto parchment paper. Make several cuts across the surface with a sharp knife or bread lame. Transfer the loaf to the hot baking stone, or place it on a parchment-lined or lightly greased baking sheet. - Bake with steam:
If using the cast-iron pan, carefully pour 1 cup of boiling water into it and close the oven door. Wear oven mitts and avoid the hot steam. Skip this step if using a suitable baking shell. - Finish baking:
Bake at 450°F for 15 minutes. Reduce the oven temperature to 400°F and bake for another 25–30 minutes, until the crust is a deep mahogany brown and the loaf is fully baked. If using a baking shell, remove it after the first 15 minutes. - Cool before slicing:
Transfer the bread to a wire rack and allow it to cool completely before cutting.